Nim on iOS
January 27, 2015
The Nim programming language is simple, clean language with a style that will be familiar to Python programmers, but has the performance benefit of compiling down to C. The C the compiler generates is different depending on whether you have 32-bit or 64-bit code, which makes compiling for iOS (which has to target both 32-bit and 64-bit) awkward.
In this blog post I’ll summarise how you can use Nim for components of your app. I’ve got a working version of this project available on GitHub.
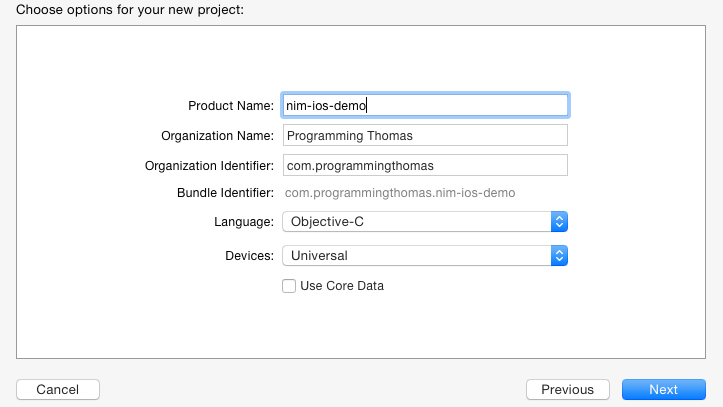
Firstly, if you haven’t already, grab the compiler and compile it (don’t worry, this is easy). Then create a new Objective-C project in Xcode. I’ve called mine nim-ios-demo:
Next you’ll want to create two directories: scripts and src. Your folder structure should look like this:
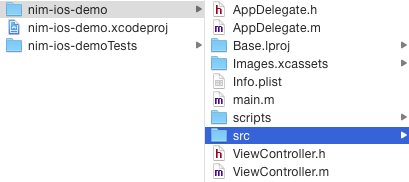
The src folder is where you’ll be placing your Nim source files. In scripts you need to place my xcode_prebuild.sh script (I modified it from work by Grzegorz Hankiewicz). This script compiles the Nim source files to C and creates the merged 32-bit/64-bit files. You need to add this script as a build phase in Xcode:

There are two minor changes that you’ll need to make to the script to use it in your project:
- Set the
PROJECT_DIRvariable - Set the
PATH_TO_NIMvariable
Add your Nim source files in the ‘src’ directory. In this example I’m going to use a very simple function:
# Saved as backend.nim in the src directory
proc hello*(name: cstring): cstring {.exportc.} =
    result = "Hello " & $name
You can optionally add this to your Xcode project, but make sure that you don’t have Xcode set to copy or compile it! Note that we need the asterisk after the function name so that it gets exported, and {.exportc.} ensures that the name doesn’t get mangled. We also have to use cstring rather than string (Nim’s native string type) but they get bridged automatically at no cost.
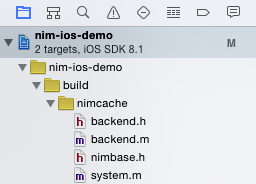
Build your project. This will run the Nim compiler and generate the C files you need to include in Xcode. Go ahead and add the contents of src/build/nimcache to your project:
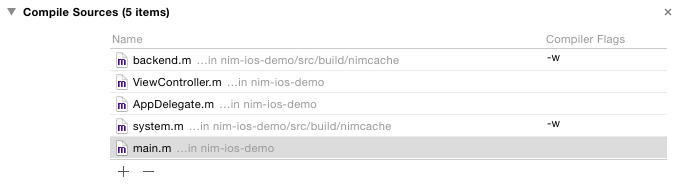
If you build now you’ll get a lot of warnings (50+). If you want to avoid these, add the -w flag to the files in their compile stage:
Before you can use the Nim function you’ll need to configure the Garbage Collector. Add the call to NimMain in main.m:
#import <UIKit/UIKit.h>
#import "AppDelegate.h"
#import "backend.h"

int main(int argc, char * argv[]) {
    @autoreleasepool {
        NimMain();
        return UIApplicationMain(argc, argv, nil, NSStringFromClass([AppDelegate class]));
    }
}
For my example, I’ve created a simple app that echoes the user’s name. To call the function, you’ll need to import backend.h:
#import "ViewController.h"
#import "backend.h"

@interface ViewController ()
- (IBAction)textChanged:(UITextField *)sender;
@property (weak, nonatomic) IBOutlet UILabel *label;

@end

@implementation ViewController

- (IBAction)textChanged:(UITextField *)sender {
    char * helloName = hello((char*)sender.text.UTF8String);
    self.label.text = [NSString stringWithUTF8String:helloName];
}

@end
By using [NSString stringWithUTF8String:] we can copy the contents of the string, which ensures that when Nim cleans up the memory later (helloName) we don’t lose the string.
Finally, you can build and run the app:
Once you’re up and running it is trivial to add new Nim code to your project. So far I’ve been very impressed with the language, and I may even use it in the future in my apps.